

Server Settings
DQue Connect allows you to easily add and manage server information for SSH connections and port forwarding.
Add/Edit Server Screen
Section titled “Add/Edit Server Screen”The server settings screen appears when you add a new server or edit an existing one.
Adding a New Server
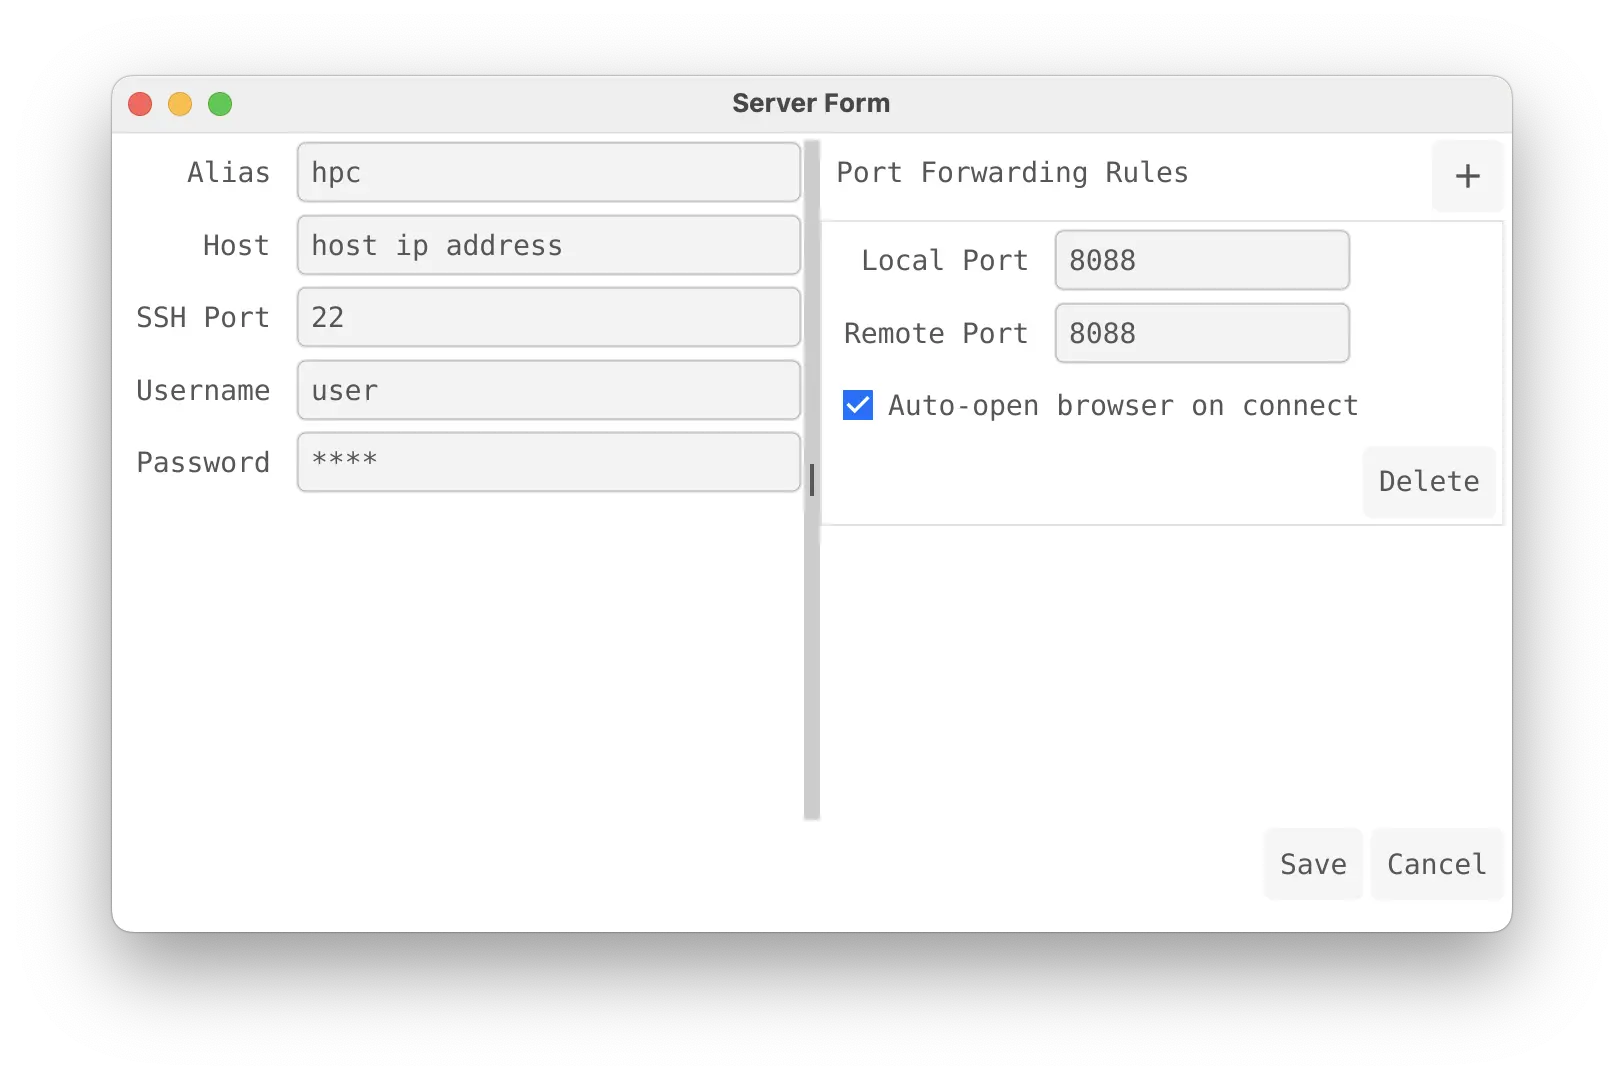
Section titled “Adding a New Server”Click the + button on the main screen to open the Server Form for adding a new configuration. Notice the main “Delete” button at the bottom is disabled.
Editing an Existing Server
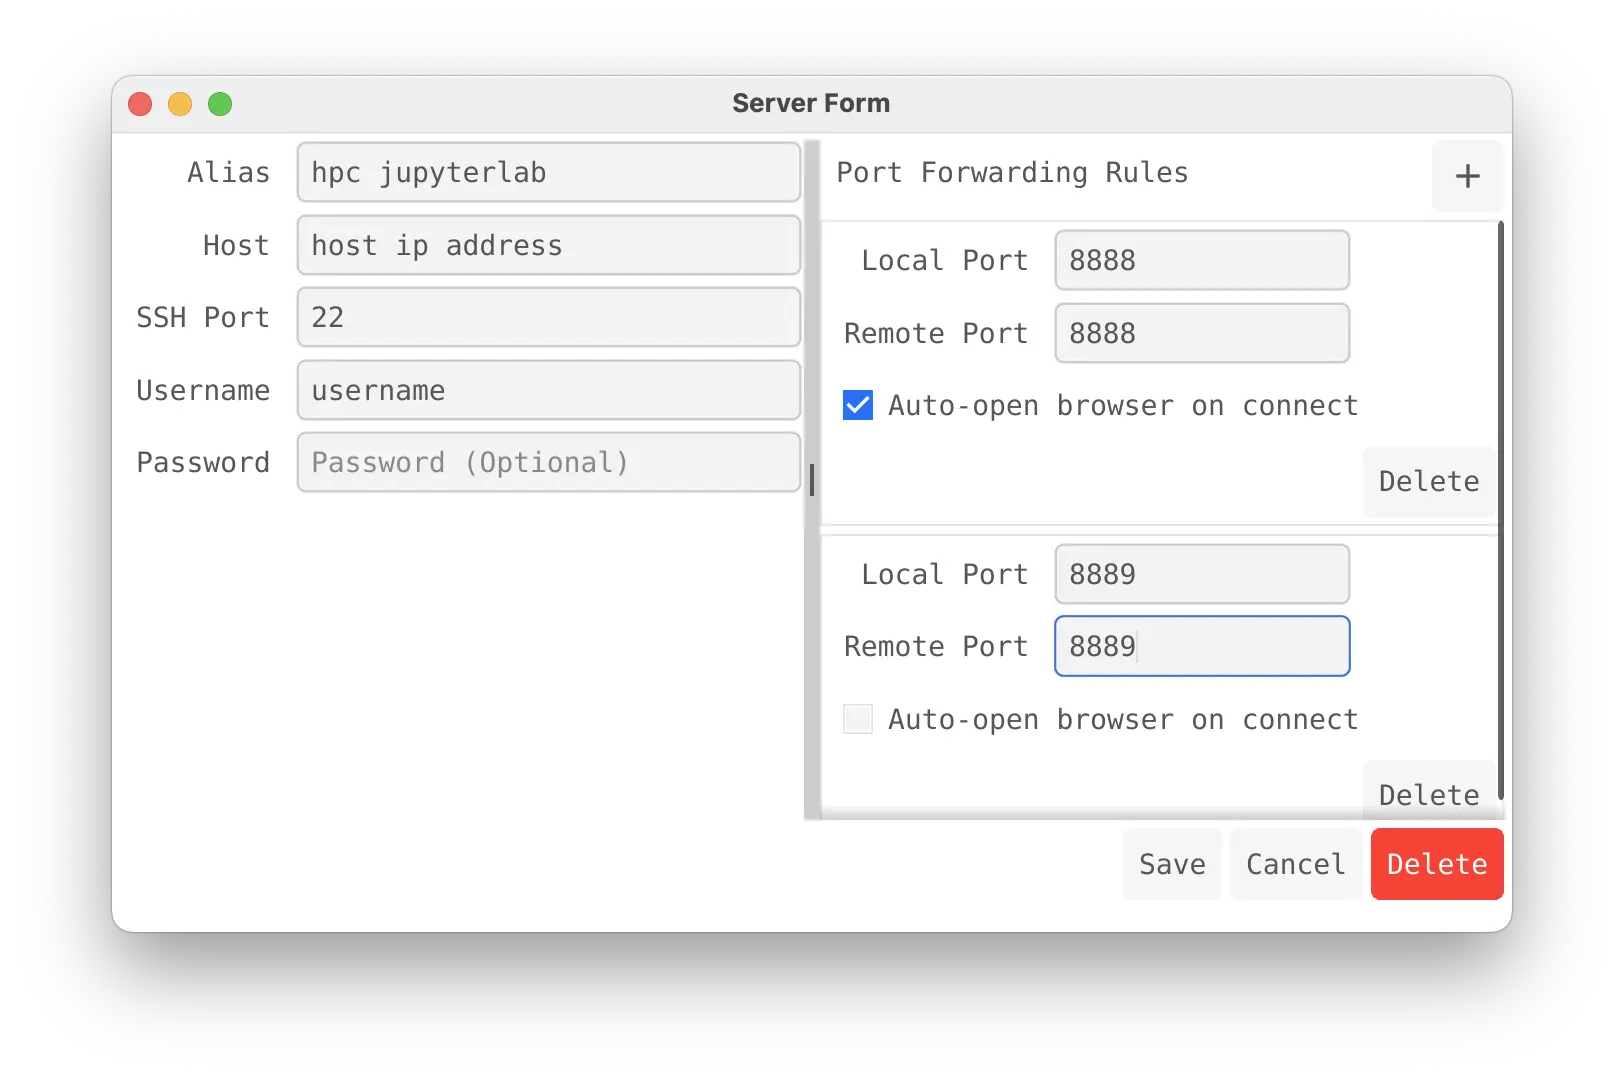
Section titled “Editing an Existing Server”Select ‘Edit’ from the … menu of an existing server to modify its configuration. The main “Delete” button at the bottom is enabled, allowing you to delete the entire server profile.
You can configure the following items in both screens:
Basic SSH Connection Information
Section titled “Basic SSH Connection Information”- Alias: An alias to identify the server (e.g.,
hpc,hpc DQ dev). - Host: The IP address or domain name of the server to connect to (e.g.,
210.107.208.140). - SSH Port: The port number to use for the SSH connection (Default: 22, e.g.,
10002). - Username: The username to use for the SSH connection (e.g.,
plusha). - Password: The password to use for the SSH connection (masked when entered).
Port Forwarding Rules
Section titled “Port Forwarding Rules”You can set up one or more port forwarding rules. Click the + button in the top right corner (within the rules section) to add a new rule.
Each rule consists of the following items:
- Local Port: The port number to use on your local machine. Accessing this port will forward to the remote port (e.g.,
8088,8080). - Remote Port: The port number of the service actually running on the remote server (e.g.,
88,80). - Auto-open browser on connect: If checked, automatically opens the local port address (e.g.,
http://localhost:8088) in a web browser upon successful connection. - Delete Button: Deletes the corresponding port forwarding rule.
Saving and Management
Section titled “Saving and Management”- Save Button: Saves the current configuration.
- Cancel Button: Discards changes and returns to the previous screen.
- Delete Button (Red): Deletes the entire server configuration currently being edited (only enabled when editing an existing server).